
Up until the past several years, my handmade paper bowls were baseless, so to speak. Such as this piece:
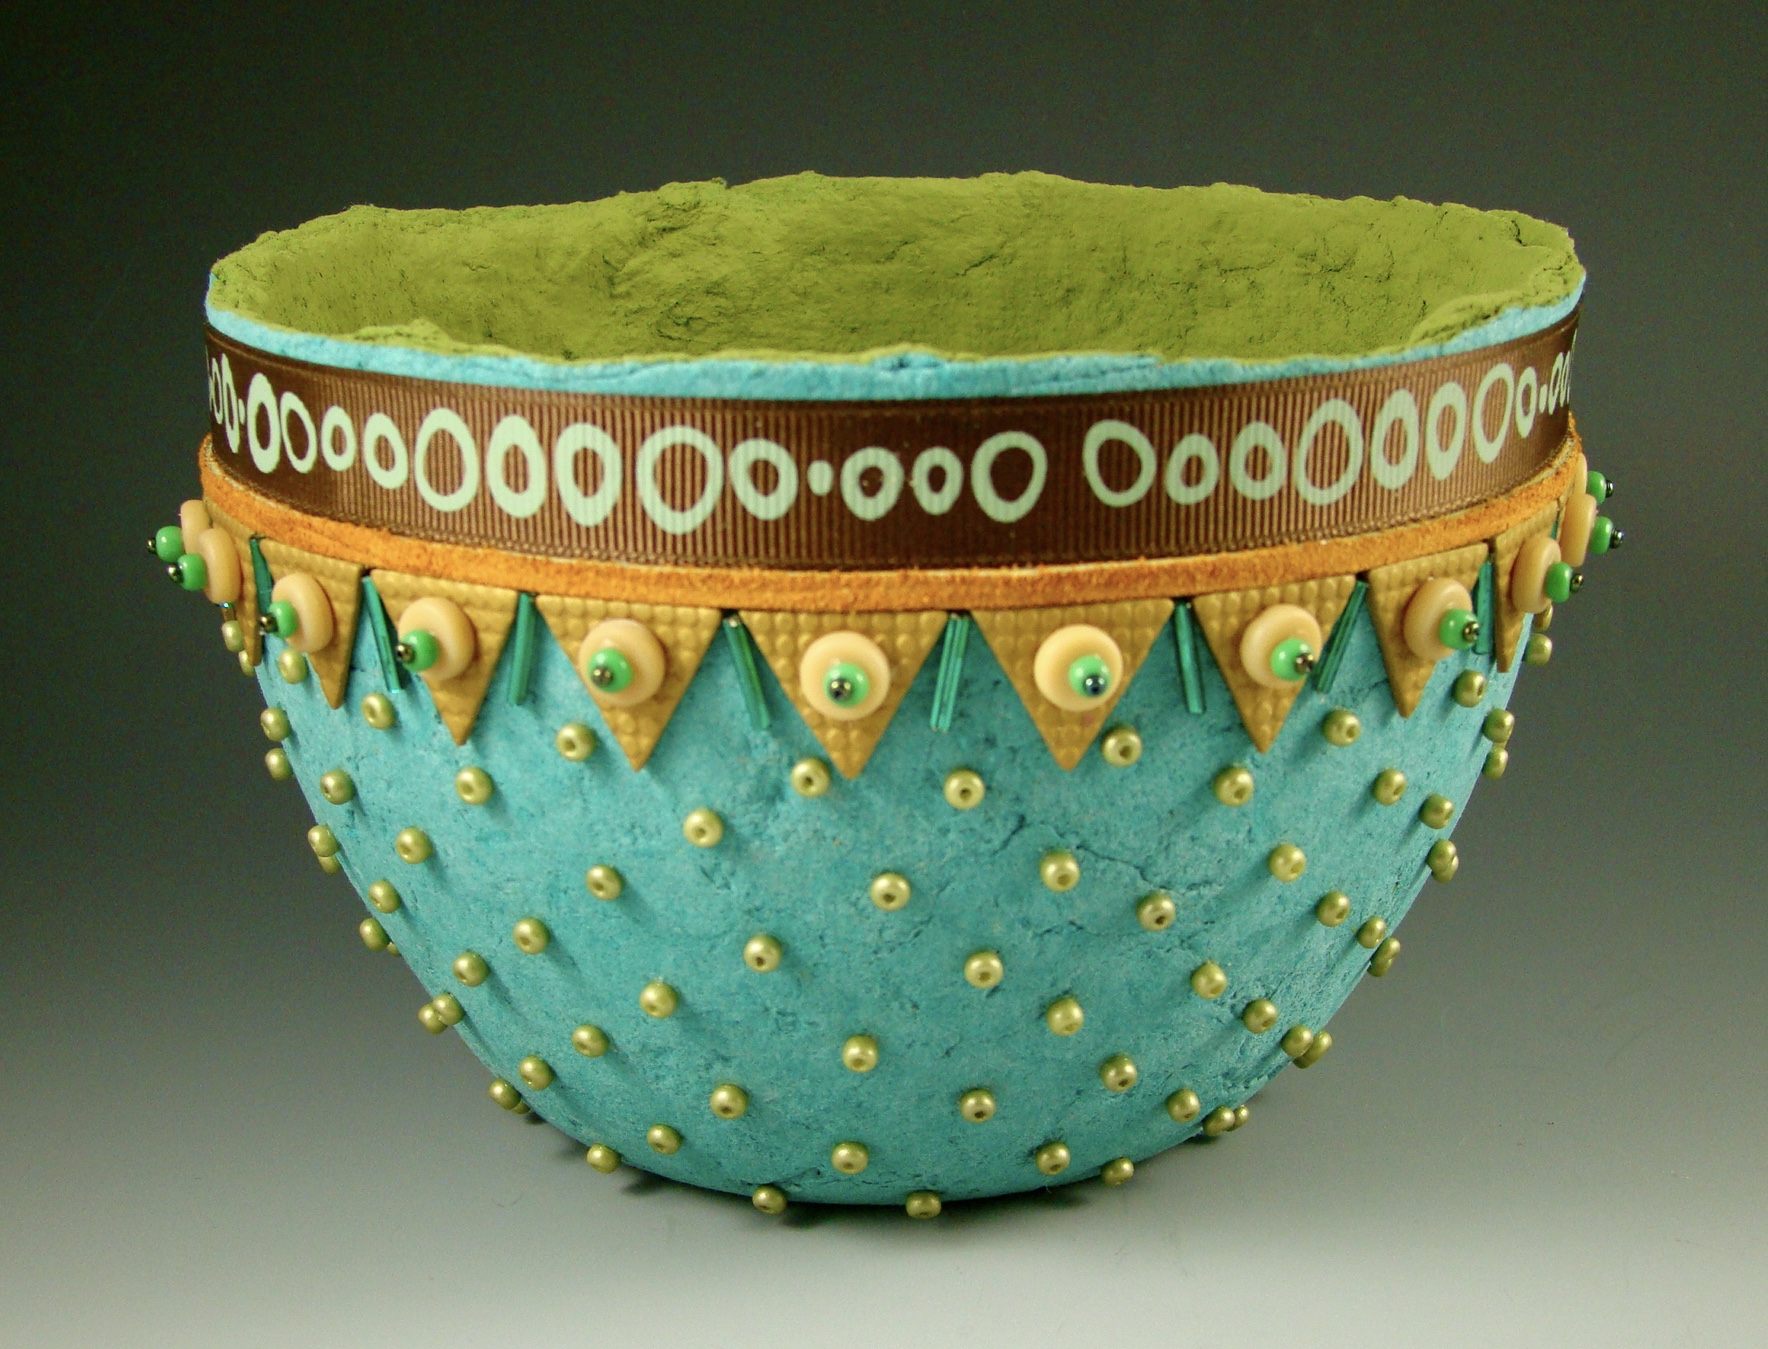
Unless, or course, the bowl form structurally needed a base or ‘feet’, (for instance, having a rounded bottom). Then something would have to be engineered so that it could ‘stand on its own’. This was the fun part! Not only did I enjoy the challenge, but adding more design elements can be downright fun.
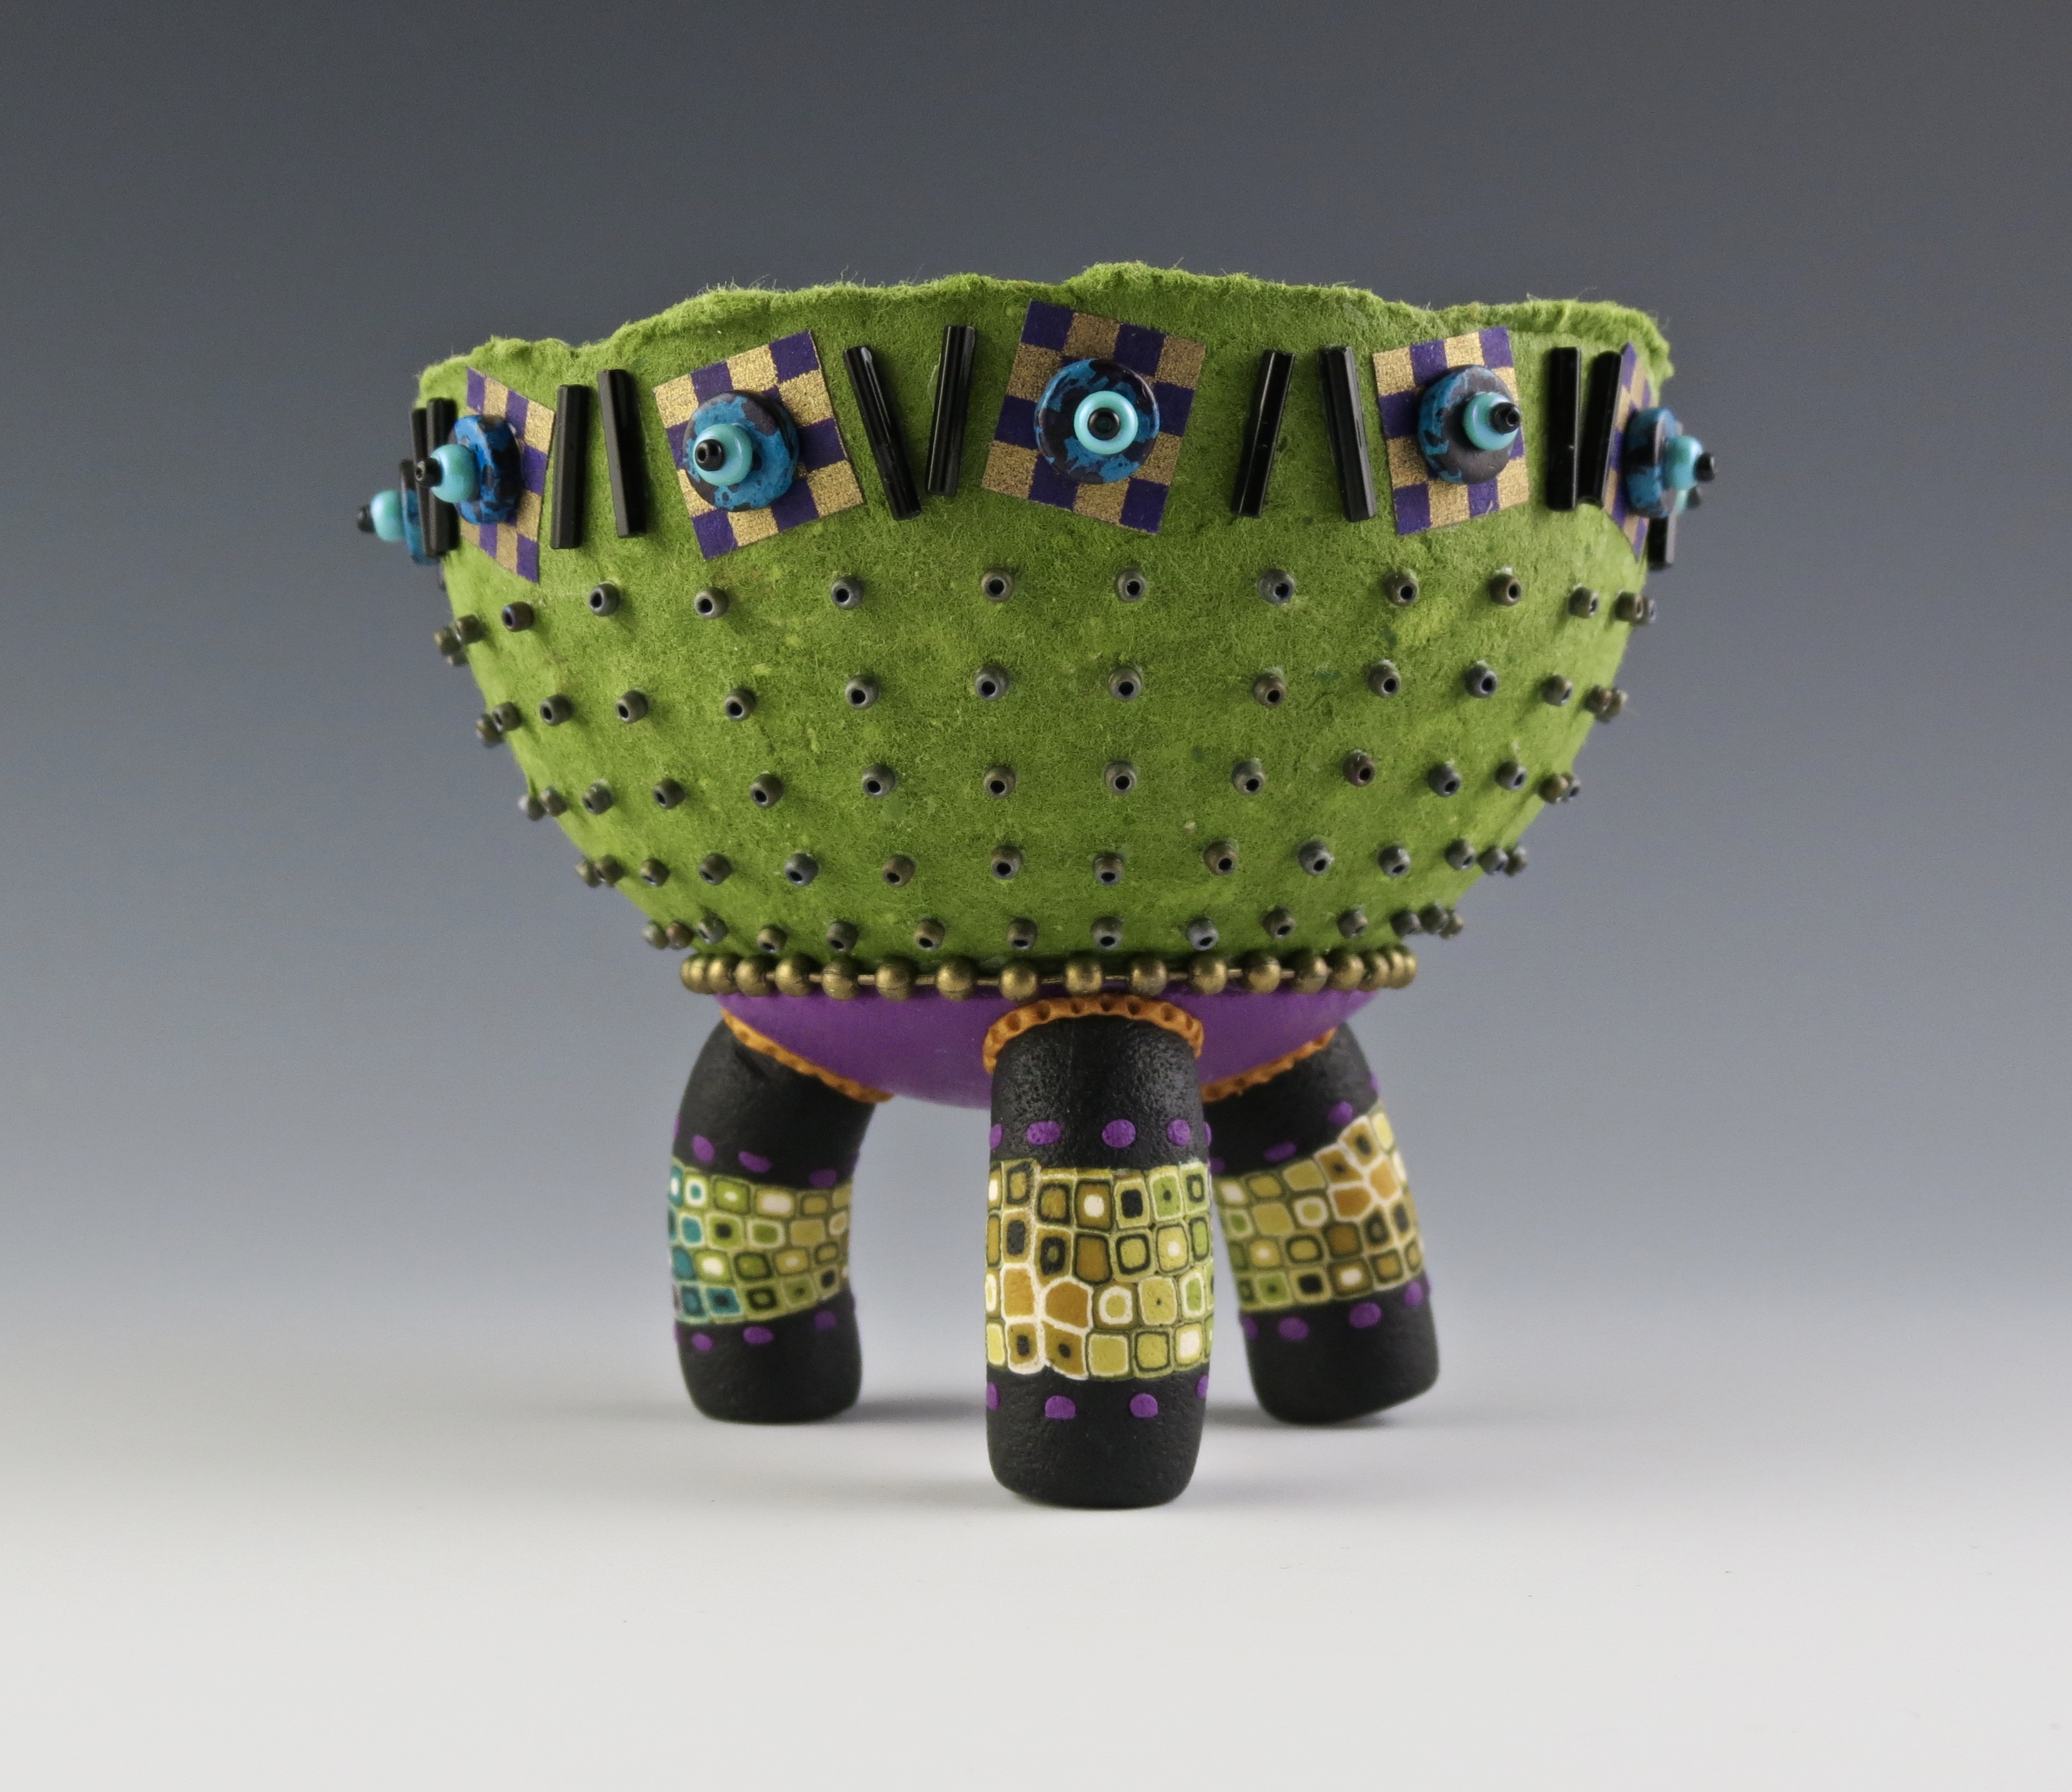
So I started making ring pots
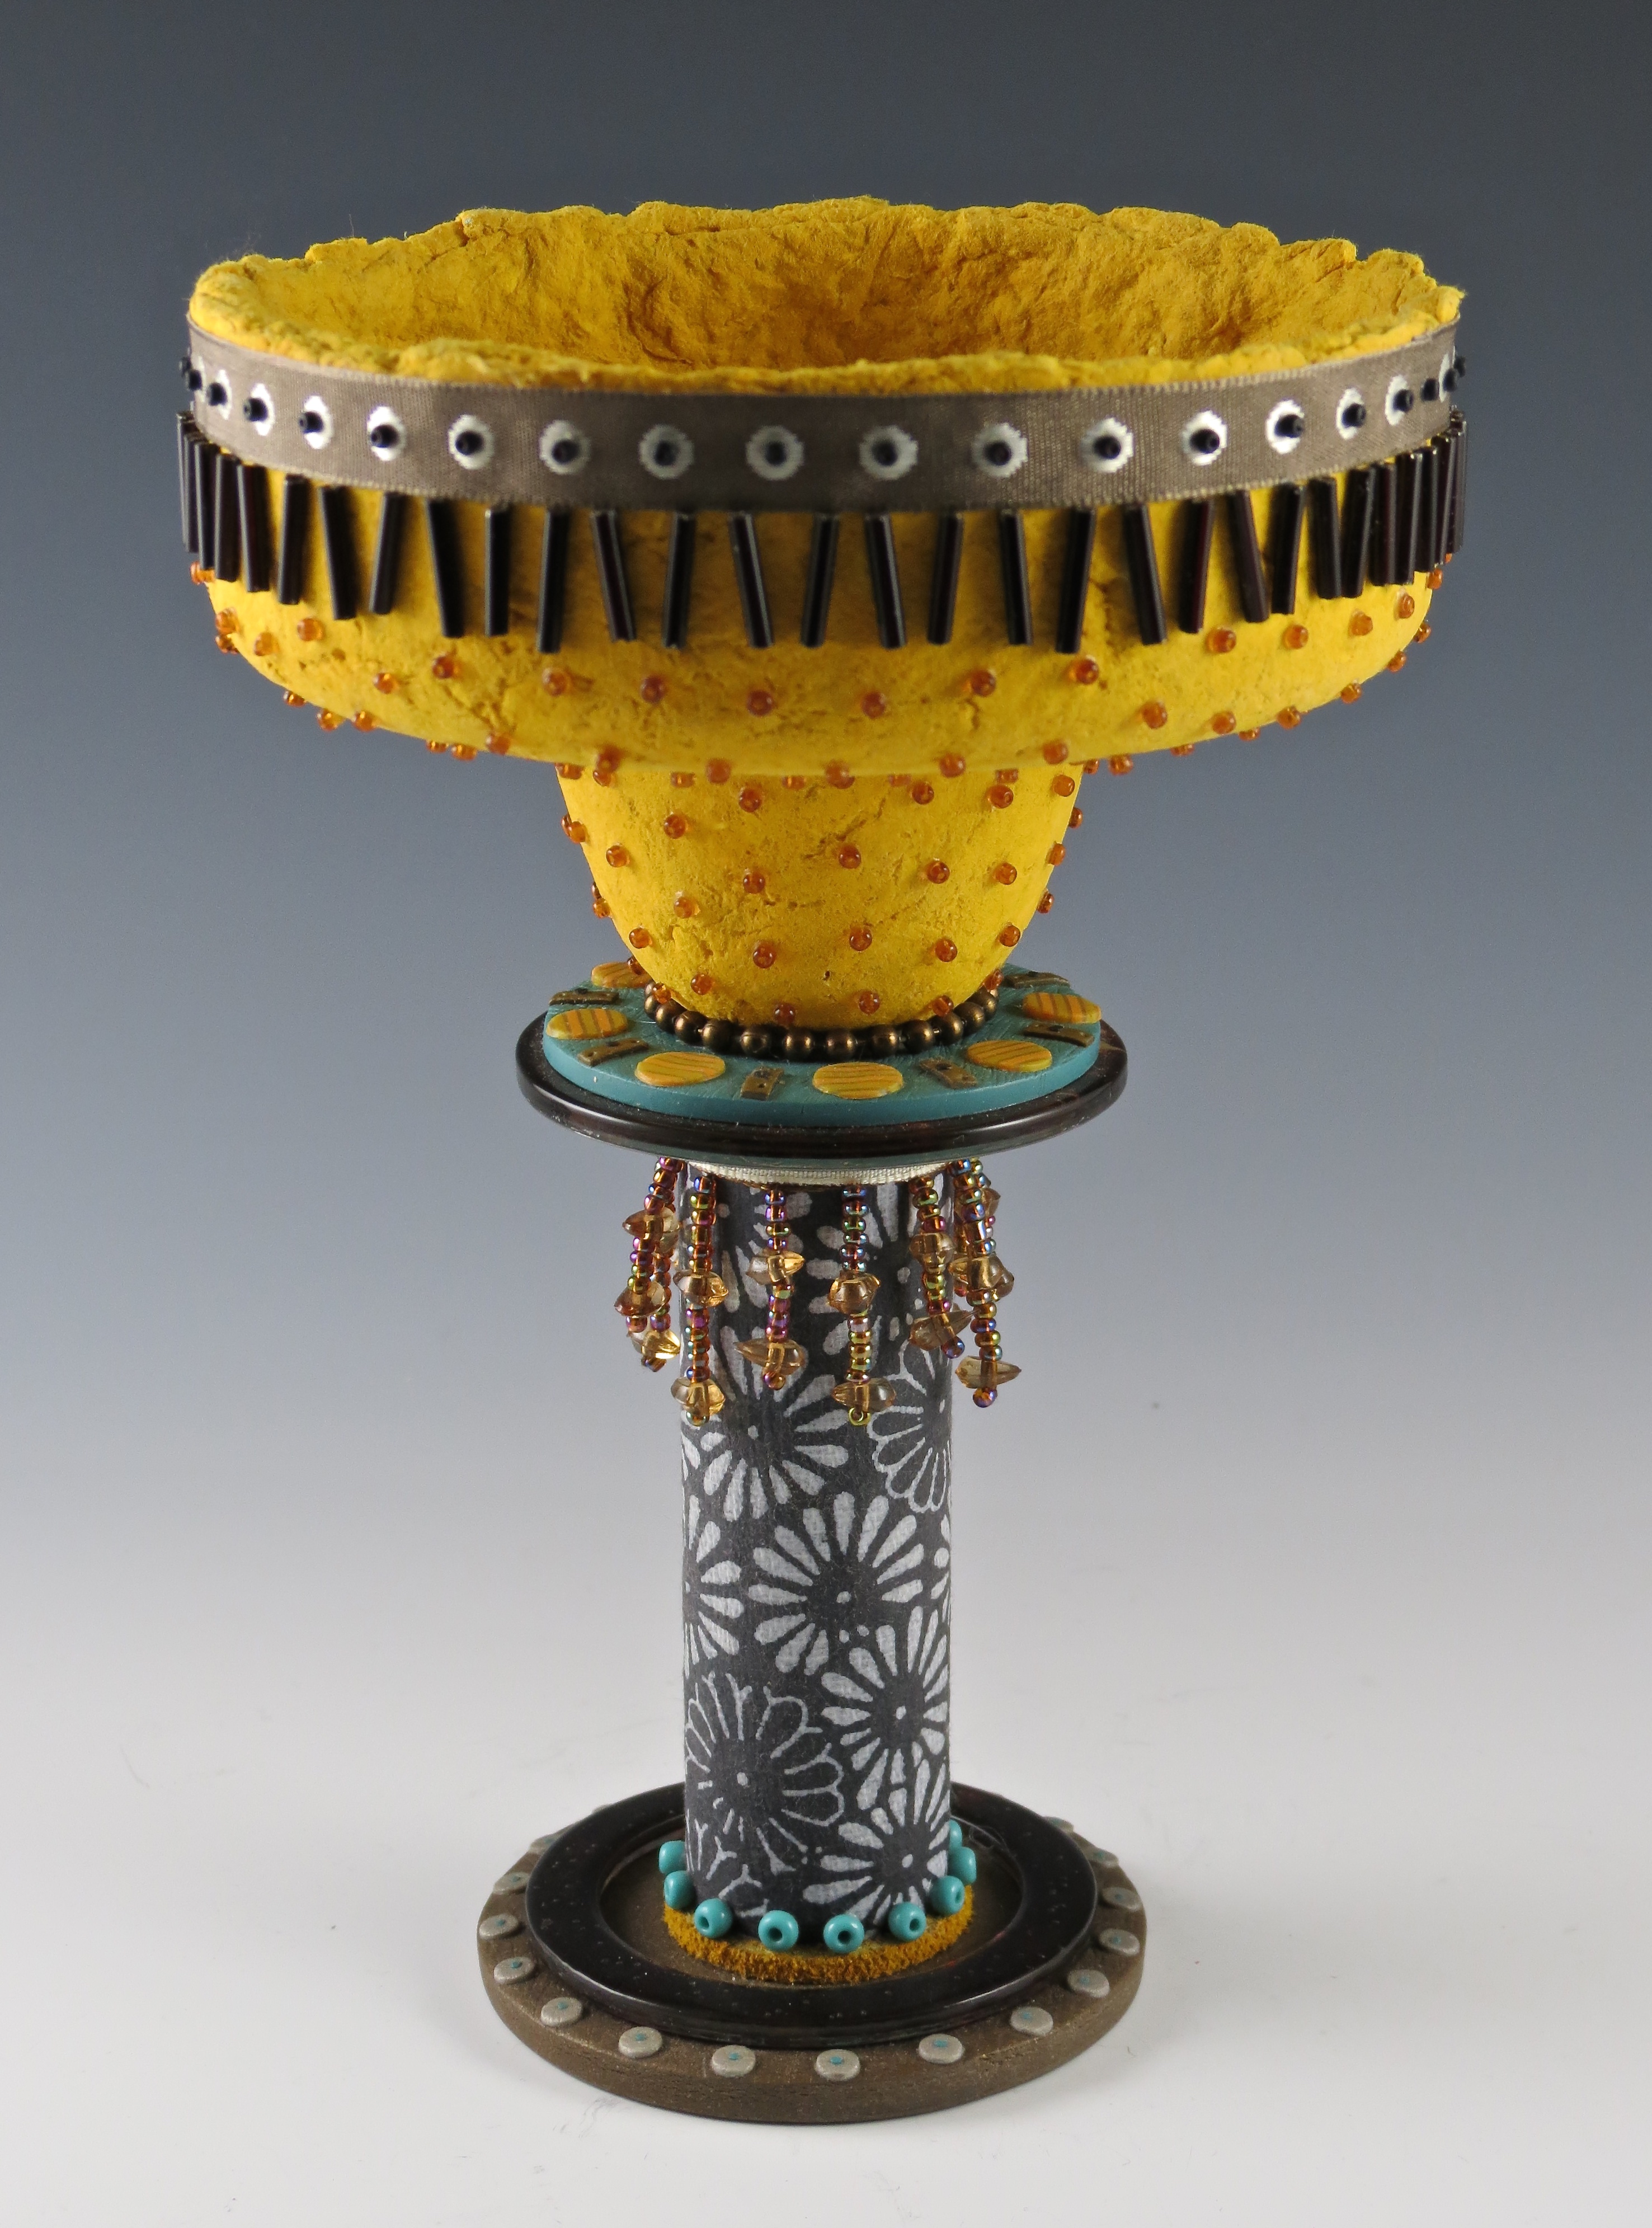
and margarita bowls.
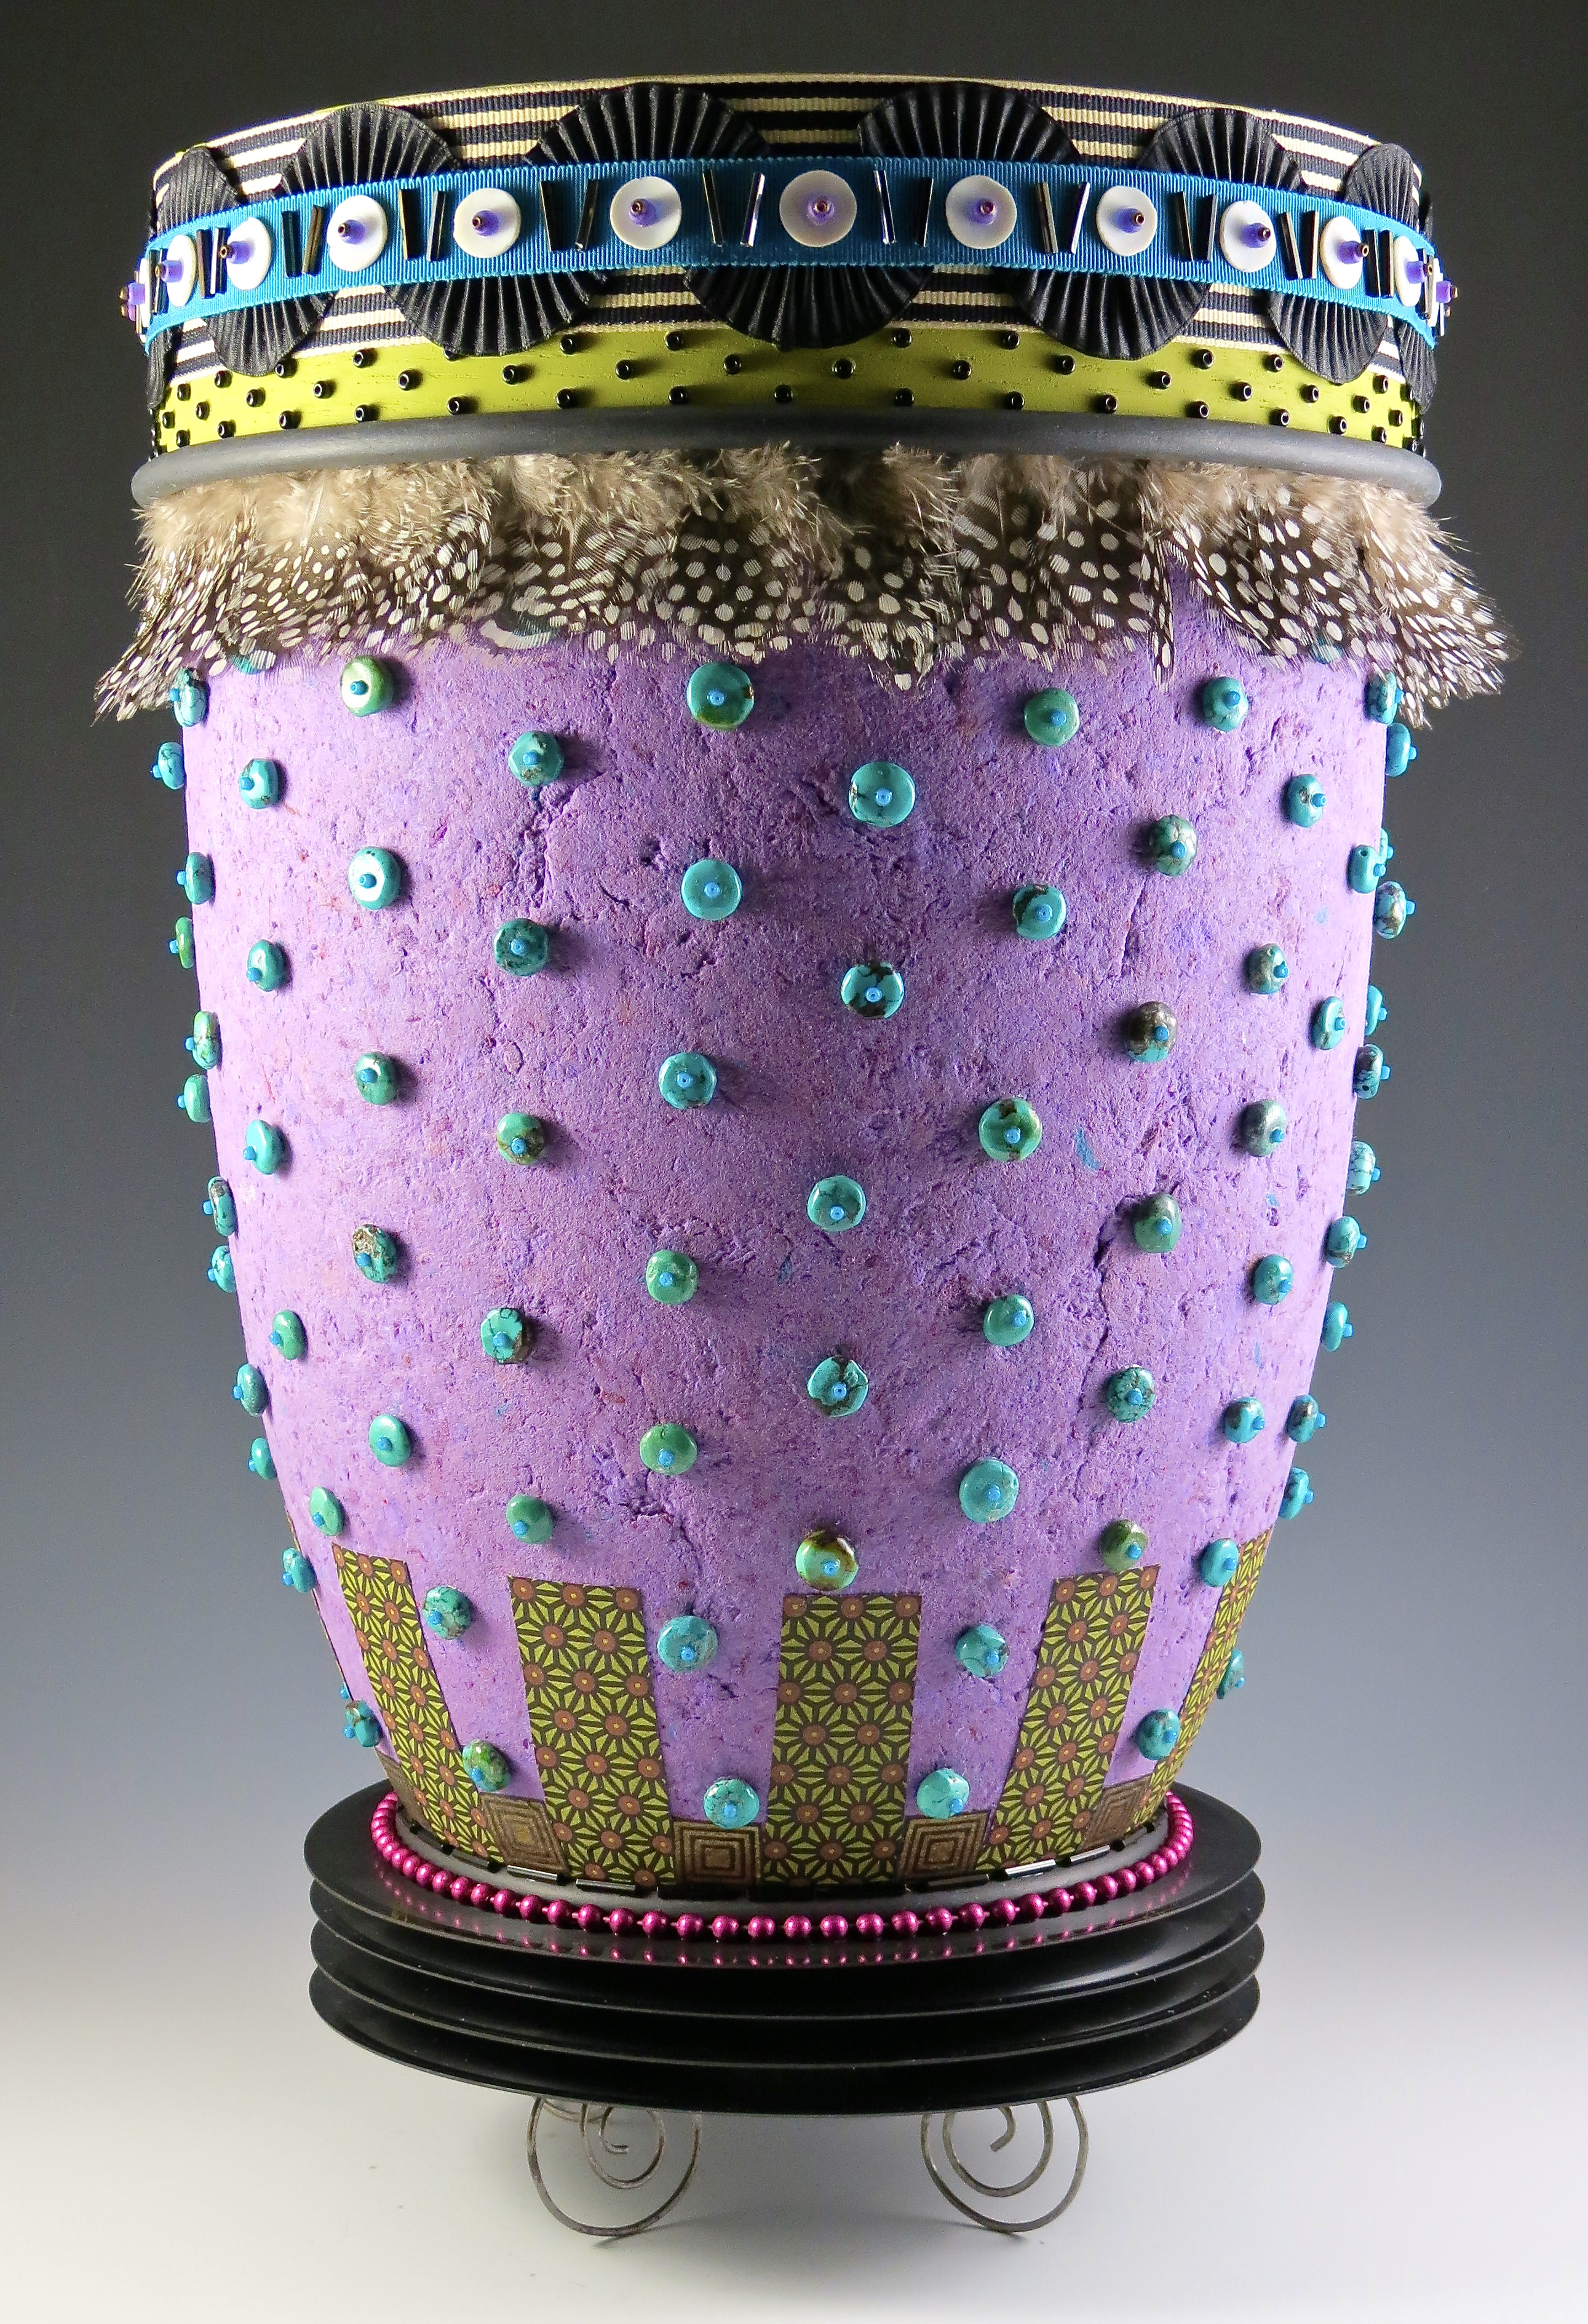
And sometimes it appeared that I got a bit carried away with my bowl base details! As in this piece titled; ‘Rock and Roll Bowl’. This was one of six pieces where I had designed the bases to reflect what all was happening design-wise above.
Needless to say, I caught the bowl base bug. To be honest, I think it is now a necessary design element in my work.
Here is an example of the process. Of course, polymer clay is the perfect material for a base. First I decide on the shape and size. This one happens to be round, so I use a large cookie cutter.
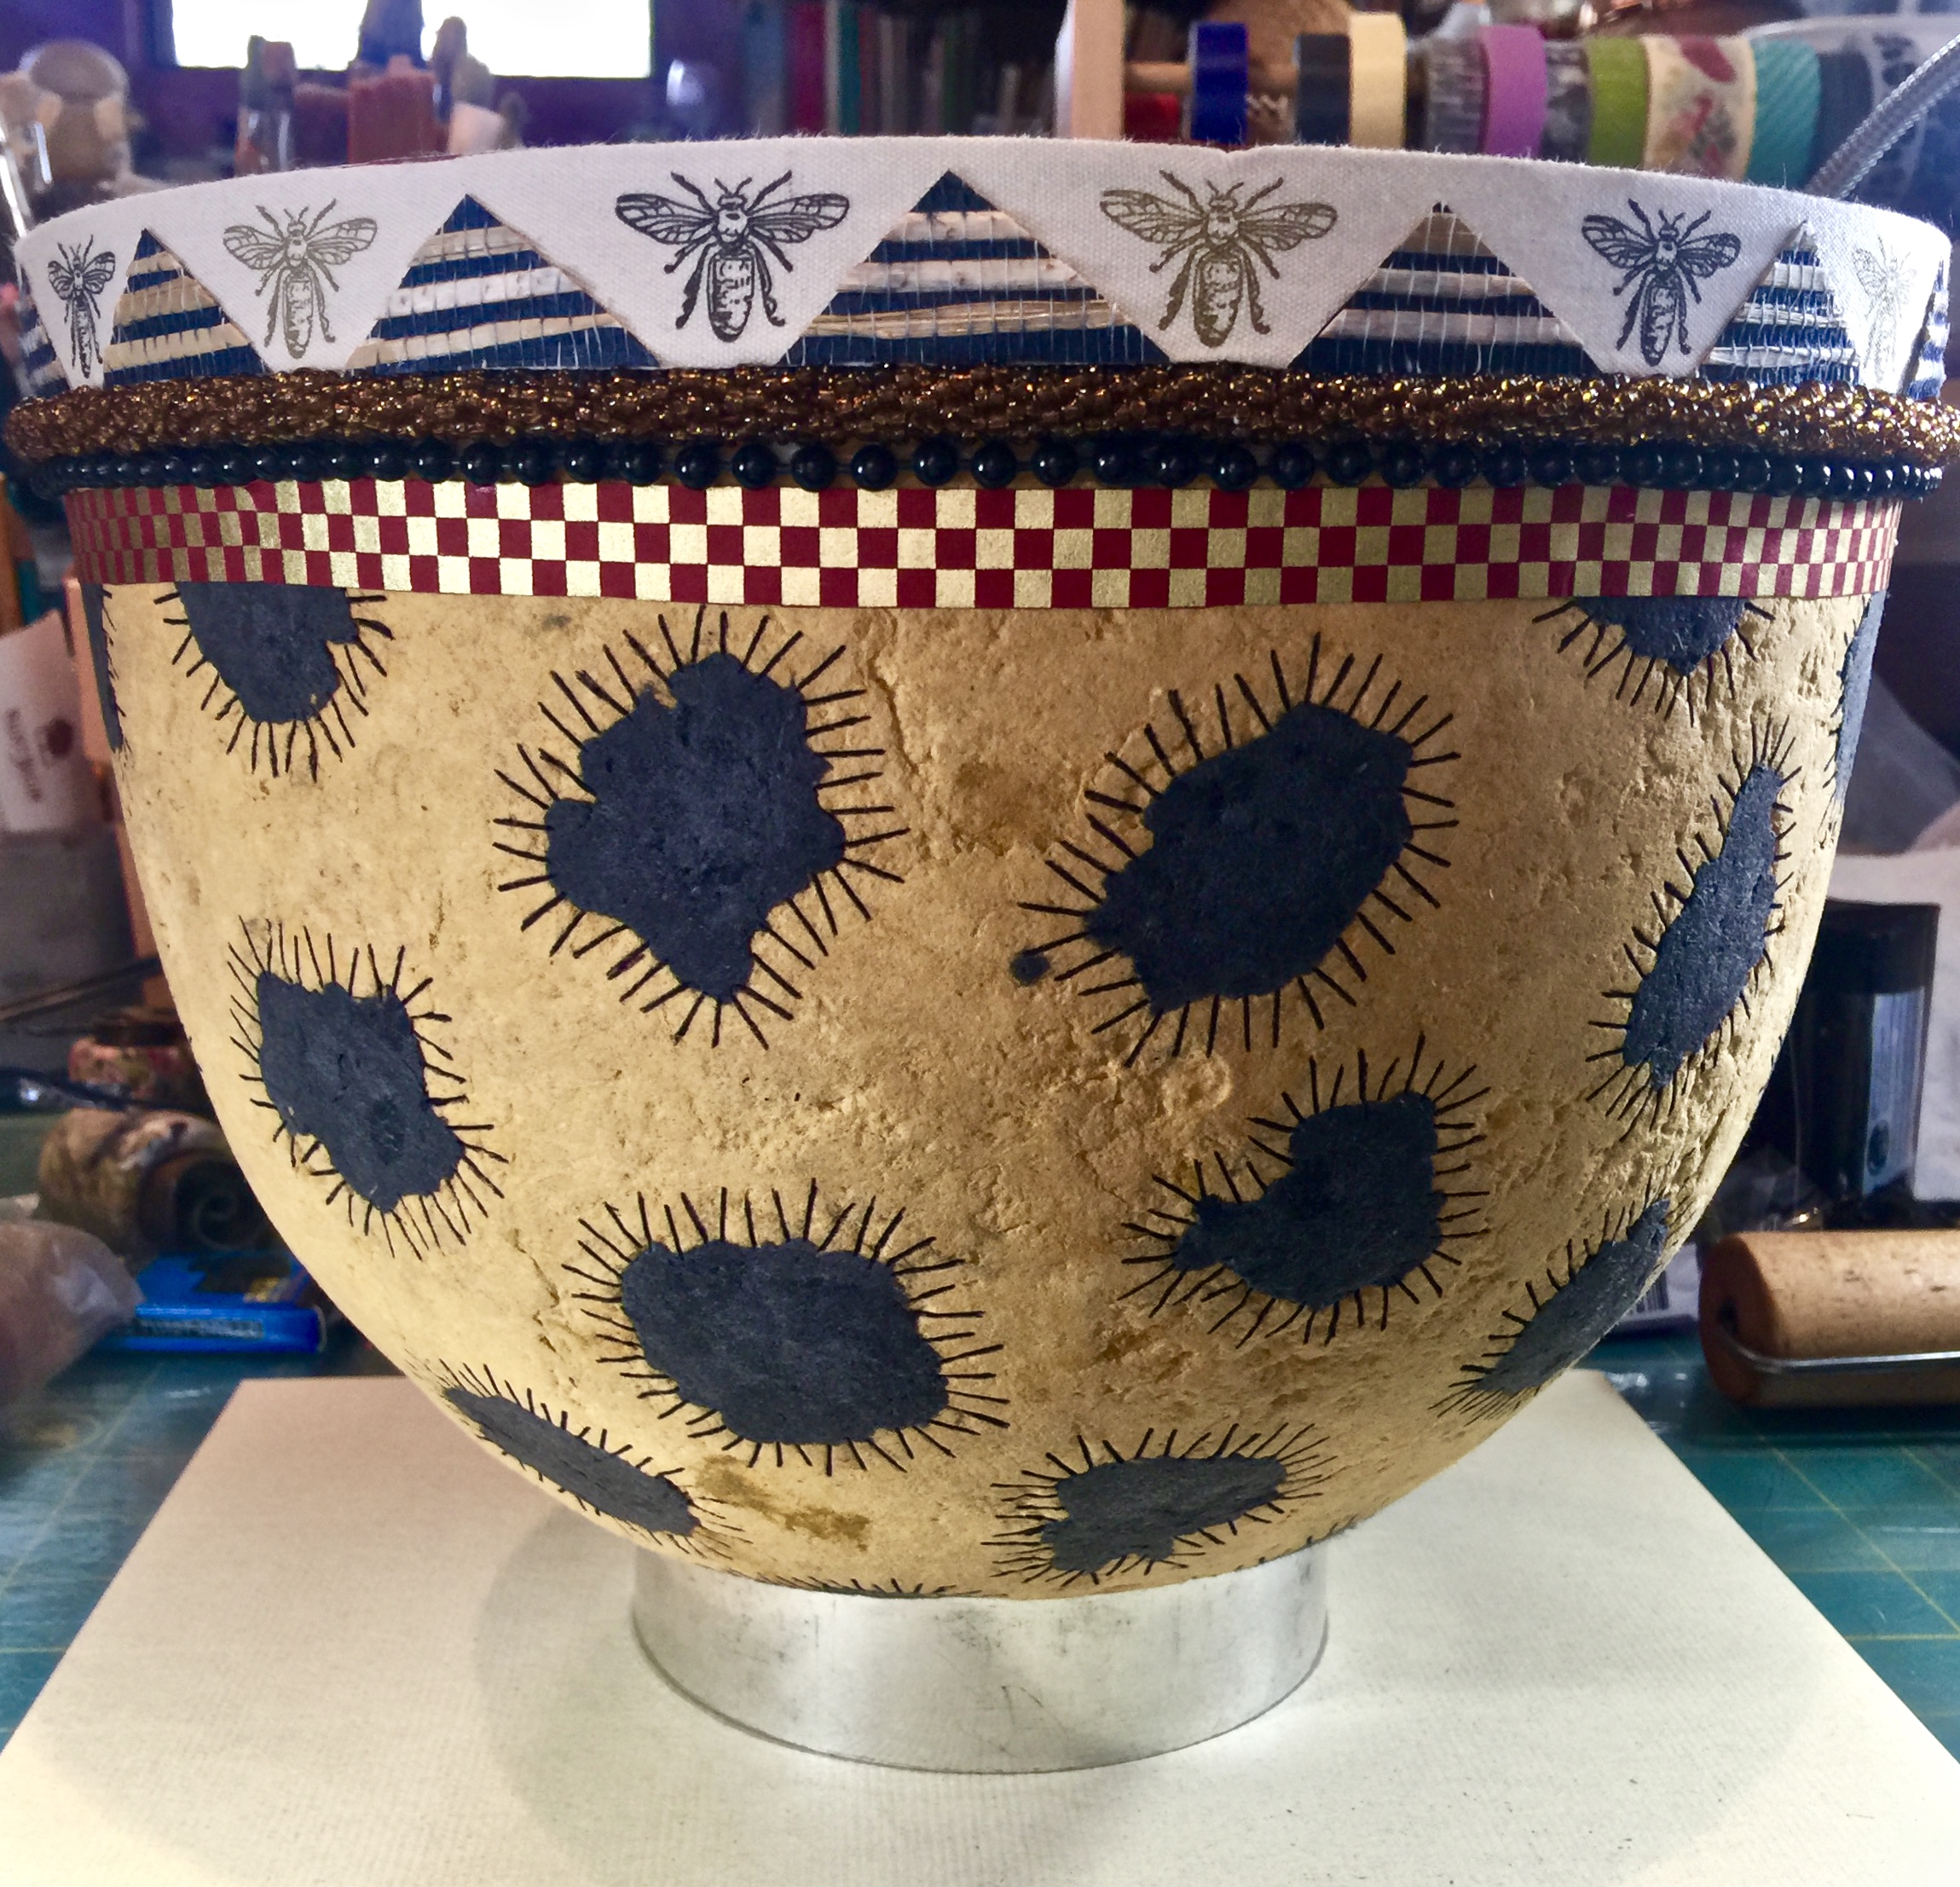
Next, I form the polymer clay over the cookie cutter and add design elements to the surface. I also cut a ‘ring’ of polymer clay that will fit inside the base. These pieces are cured at 285 degrees for 30 minutes.


After curing and cooling, I then sand the two pieces and fit them together as tightly and evenly as possible. Using a thin paint brush, I paint liquid polymer clay where the two pieces touch, all the way around. It is cured at 265 degrees for 10 minutes. After it is cured and cooled, liquid polymer clay is once again applied around the joined area. A gold polymer clay design element is also added over the joined area for structural fortification.


Almost there! The base has its final sanding and a heat-set burnt umber patina is applied. Final curing is for 15 minutes at 265 degrees. The base is attached to the bottom of the bowl using a thick, white archival glue.

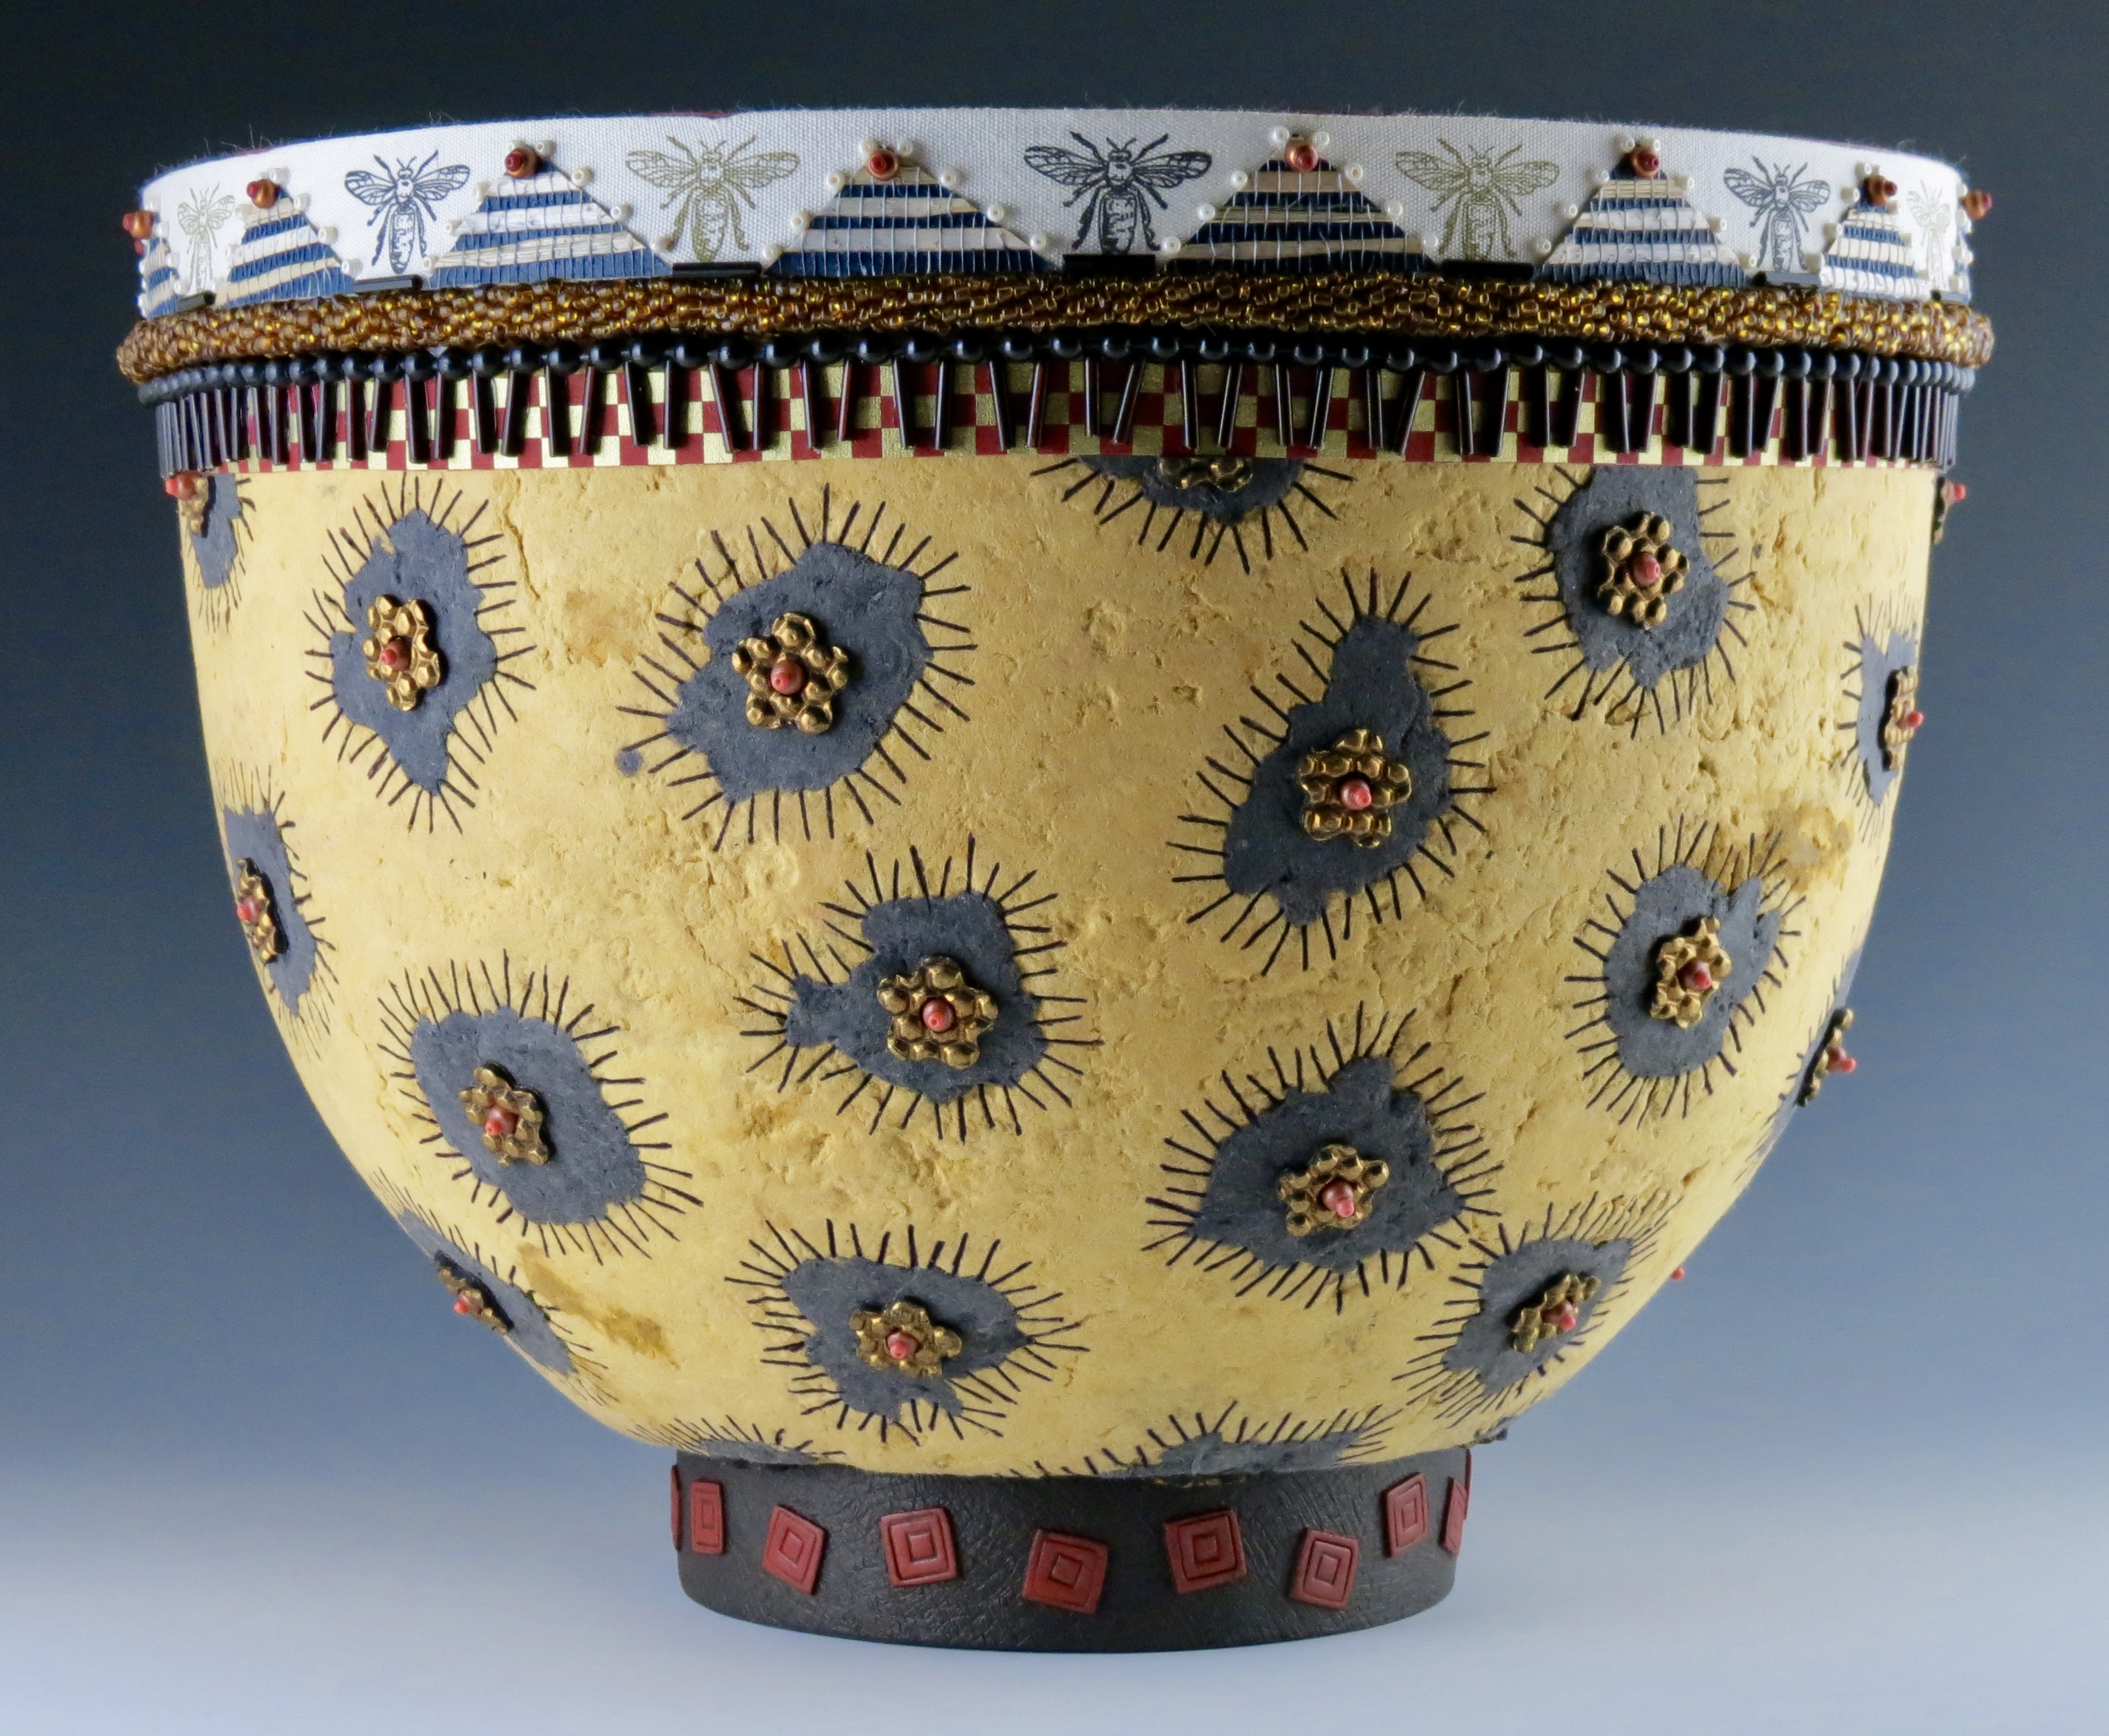
And here’s the finished piece, titled: ‘Buzz Bowl’.

3 responses to “Bowl Base Basics”
Thanks for this post. Very interesting. With the Buzz Bowl base, is the final orientation as shown in the picture? In other words, does the part of the base with the extra ring attached sit on a surface and the larger base opening hold the bowl? I could not tell from pics. I am guessing the extra ring of clay fortifies the base.
Hi Laura. I can see your confusion. The side with the inner ring is attached (glued) to the bottom of the bowl. In other words, the base has been flipped over to attach it to the bowl. Hope I’m clear in my description!
Thanks Angie!